Essential kitchen equipment for home bakers
April 15, 2023
WE GIVE OUR LIST OF THE 10 MUST-HAVE KITCHEN TOOLS EVERY HOME BAKER SHOULD HAVE TO HAND TO HELP TURN OUT THOSE SHOW-STOPPING BAKES.
1. Stand mixer
Where would we be without our trusty mixers? A stand mixer is an important investment for any baker and will cut down the time required on any mixing or whisking task.
We recommend you choose the best stand mixer within your budget, these things last for years and years so it helps to get a quality machine that you can rely on recipe after recipe.
Use for mixing cake batter, creaming together frostings and whipping up egg whites for meringues. The removable bowl and beaters can be easily cleaned with warm soapy water but require counter space to be stored.
Virtually no effort is required when you have a stand mixer doing the work for you.

We use slightly bigger mixers in our kitchens!
2. Hand-held electric whisk
A powerful mini alternative to the stand mixer, hand-held electric whisks are a great go-to when you need to mix, cream or whisk ingredients in a bowl without bulky equipment.
Inexpensive to buy, the beaters can be easily detached for washing up and it can all be tucked away safely in a drawer between uses.
These are great for quick desserts, whipping up cream, creaming butter and sugar and all manner of whisking jobs. The downsides are that they are smaller than a stand mixer and do require control – one slip in the bowl and the ingredients can splash.
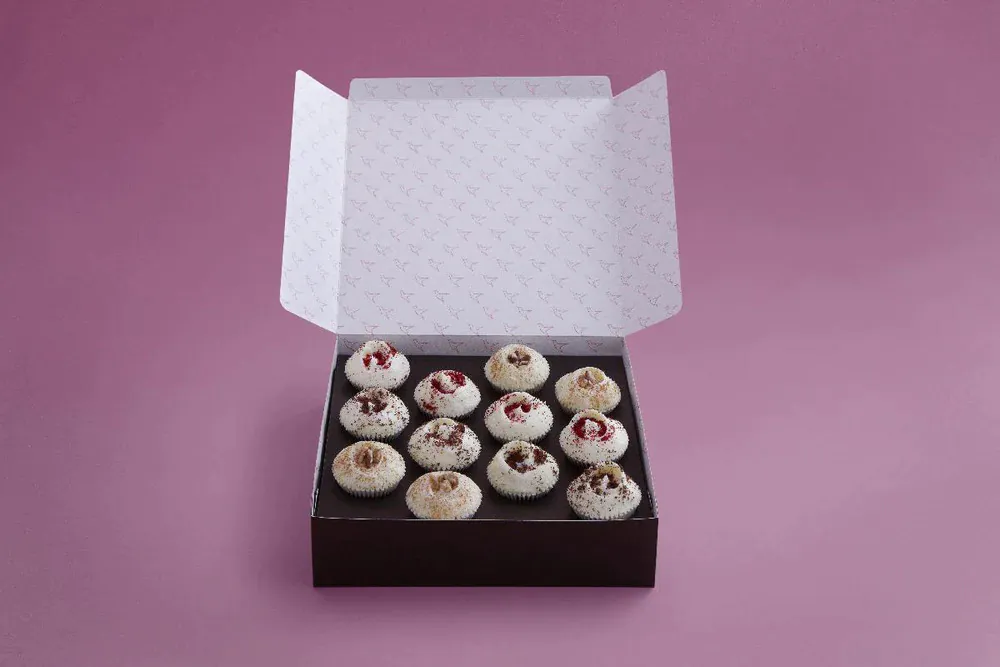
3. Food portioner
The secret tool for making your cupcakes look uniform.
We use these handy scoops regularly in the bakeries to portion out cupcake batter, cake mix, apply even amounts of frosting to sponges and scoop out thicker mixtures like dough for cookies and whoopie pies.
No need to level with a knife, just scrape the portioner against the side of the bowl once filled and you’ll have just the right amount in the scoop. Available in a range of sizes to purchase from any good catering supplier.

Food portioners like this one are great for keeping cupcakes uniform.
4. Non-stick cake tins
Tins come in all shapes and sizes and also in a range of materials. Non-stick tins are always preferable and will save time when releasing your dessert once baked.
It’s good to have a selection of springform (tins that unclip at the side, necessary for things like cheesecakes) and standard tins (we use these for our sponges, but be sure to always line the bases with a circle of non-stick baking paper first). Silicone tins are also on the market which are easy to clean and store.
Take care to let your sponges cool slightly in their tins before trying to remove them onto a wire rack as they can crumble if too warm. Only fill your tins two-thirds full to leave rising room and avoid batter over-spilling.

Hummingbird Bakery giftware available exclusively from Amazon UK
5. Measuring spoons/measuring cups
Taking care whilst measuring out ingredients is very important, after all, baking is a science. Lots of measuring cups are available from sleek metal ones to nesting spoons and cups.
The Hummingbird Bakery makes this cute set of measuring spoons which can be easily detached for cleaning or individual use.
Top tip: if measuring sticky ingredients like syrups or treacle, grease the measuring spoon with a little oil and you’ll be able to measure and transfer to the mixing bowl accurately without half of the ingredient being left behind on the spoon.
6. Non-stick baking paper
While it may be tempting to skip this step, using non-stick baking paper will save you a lot of hassle.
When baking, sponges are notorious for sticking (even to non-stick pans) and a circle of baking paper will save the day and make it easy to remove the sponge from the tin once baked. Use a little butter to grease the tin before placing the parchment on the base and filling with cake mixture.
Let the cake cool in the tin for a while before turning out onto a wire rack, the baking paper can be easily peeled away and discarded to let the sponge cool completely.
7. Spatula
A rubber or silicone tipped spatula is a must-have for even mixing. When using a stand or electric mixer, switch off for a moment every now and again and use your spatula to clean down the sides of the bowl as you go.
Spatulas are important for ensuring everything is well combined so you’re not left with mixed ingredients in the middle and unmixed ingredients stuck to the bowl.
They’re also perfect for scooping every last drop of cake mixture from bowl to tin.

Non-stick trays ensure you don't get stuck!
8. Oven thermometer
We call this little bit of kit the baker’s best friend. Many ovens operate at temperatures that are cooler or warmer than expected, so it’s important to use an oven thermometer to check the temperature before baking. They are inexpensive to buy and a useful investment.
Follow the manufacturer’s instructions to test the temperature every time you bake and you will know that you are baking at the correct temperature for the recommended time.
Goodbye burned sponges and unwelcome gooey middles!
9. Wire rack
A wire rack is the best way to cool your sponges. Letting air circulate around a sponge is important for cooling it down once removed from the oven.
If sponges are left to cool completely in their tins (unless specifically recommended by the recipe) they can go soggy. Let cakes cool in their tins and once they are firm enough to not fall apart, place the wire rack face-down over your tin and gently flip the sponge over.
Peel off any baking paper on the underside and let it cool. Clean your wire rack with a washing up brush and soapy warm water to remove all cake residue and crumbs.
10. Metal skewer
How do you know when a cake is done? When a metal skewer can be inserted into the centre of the sponge and removed cleanly.
Insert the skewer at a slight angle if the sponge is shallow and if it comes out clean, remove your cake from the oven right away. If a little cake mixture is left on the skewer, give your sponge a few more minutes.
This really is the easiest test to do and will prevent the problem of uncooked sponges. It’s also helpful to press the sponge lightly with your fingertips to see if it bounces back (another sign that it has risen).

Flour shaker, with a retro Hummingbird Bakery twist...
Bake with the experts!
To bring The Hummingbird Bakery’s own collection of baking giftware into your kitchen, shop our exclusive bakeware collection on Amazon UK.
The retro styled range features baking equipment essentials such as a flour dredger, measuring spoons and a bamboo utensil set, as well as cake stands and tins to display and store your bakes.
Happy baking! x
Comment(s)